Clay Pot Scarecrow

Supply List:
Select the size pots according to the size you want the scarecrow to be.
4 Clay Pots in different sizes
- 1 large – Body for Scarecrow
- 1 Medium – Head for Scarecrow
- 2 Small – Feet for Scarecrow
- 2 Extra Small – Hands for Scarecrow
- Burlap
- Twine – Small enough to go through the hole of pots
- Acrylic Paint – Black, White & Orange
- Paint Brushes in different sizes
- Raffia
- Glue Gun
Step 1:
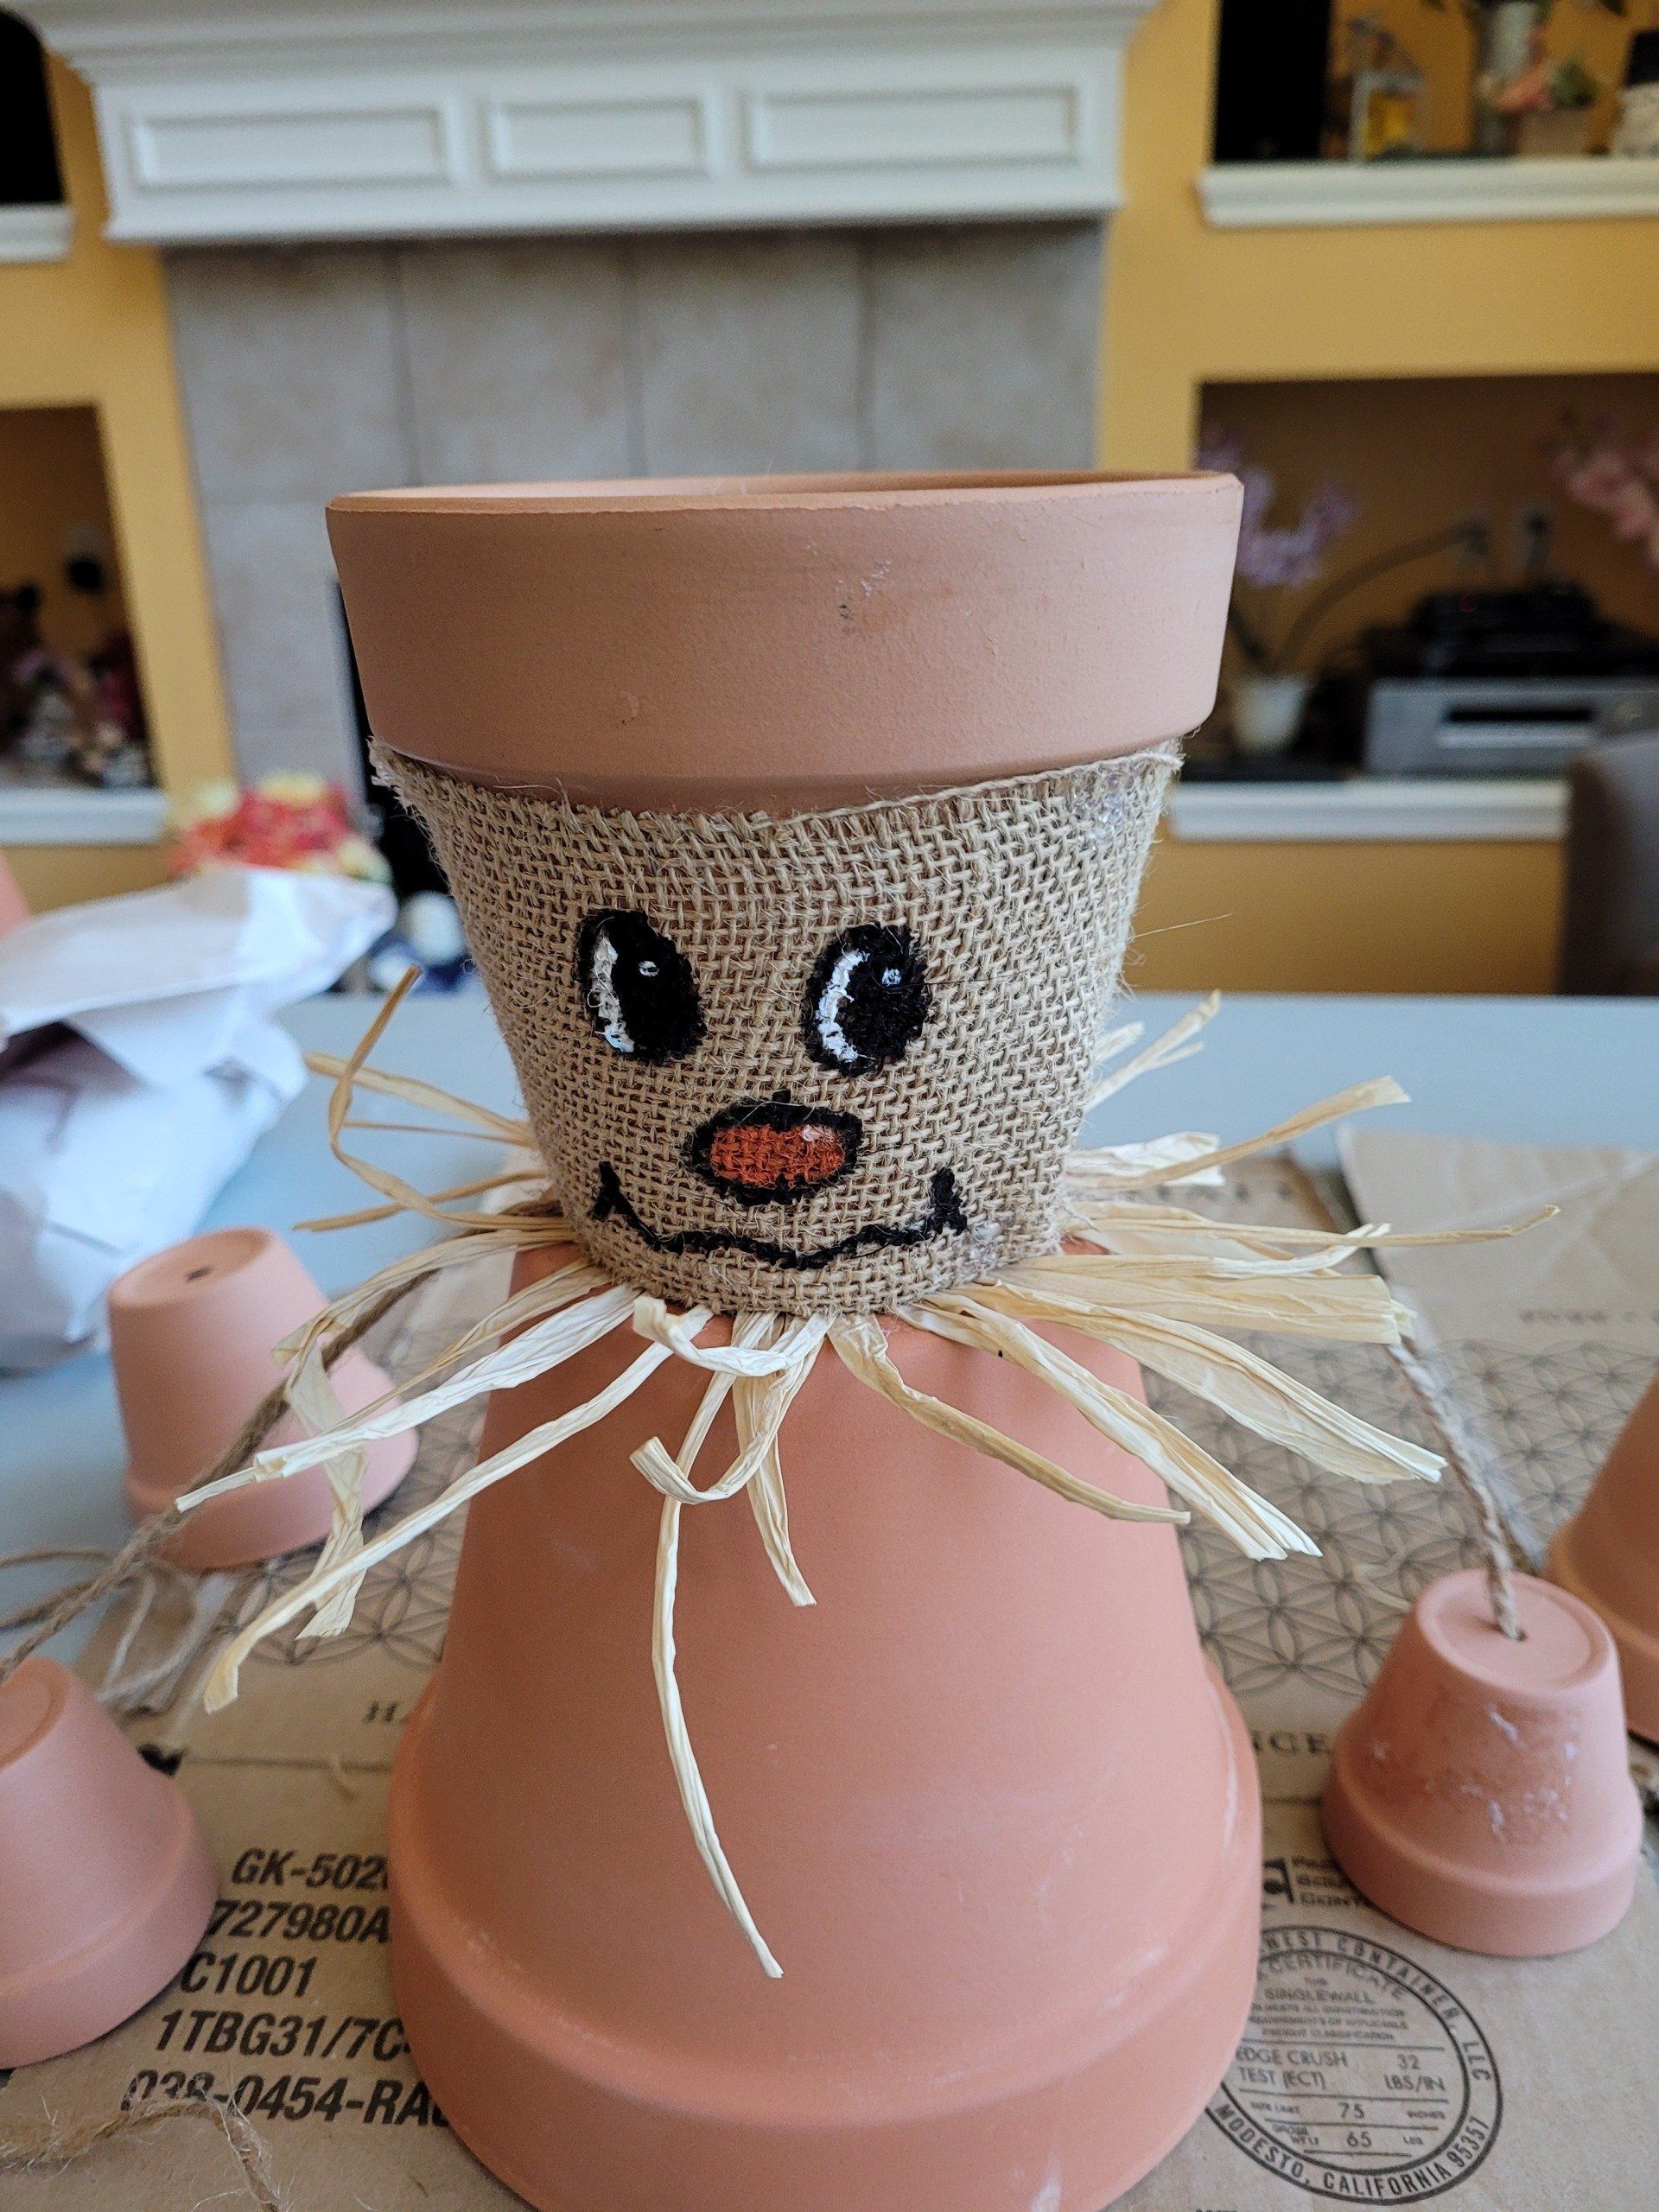
Cut a piece of burlap to fit around the medium clay pot for the head (Refer to picture). Glue gun in place.
Step 2:
Paint face on the front of the burlap, let dry.
Step 3:
Cut 4 long pieces of twine for the legs and hands, you will trim down later. Run a piece twine through each of the feet and tie a knot on the inside large enough so that it will not come out. Then tie another large knot on the top of each foot to prevent the feet from moving. Do the same with the hands.
Step 4:
Run the twine for the feet through the large pot for body of the pot and then through the head. Run the twine for the hands between the body and head and run the twine through the head hole. Once the twine for the feet and head are through make a lose knot just to secure the twine.
Step 5:
Cut the raffia into about 3-inch pieces enough for the hands, feet, and neck of the scarecrow. Glue gun the raffia to the neck portion of the scarecrow. After you have done that do the same thing to the inside of the hands and feet.