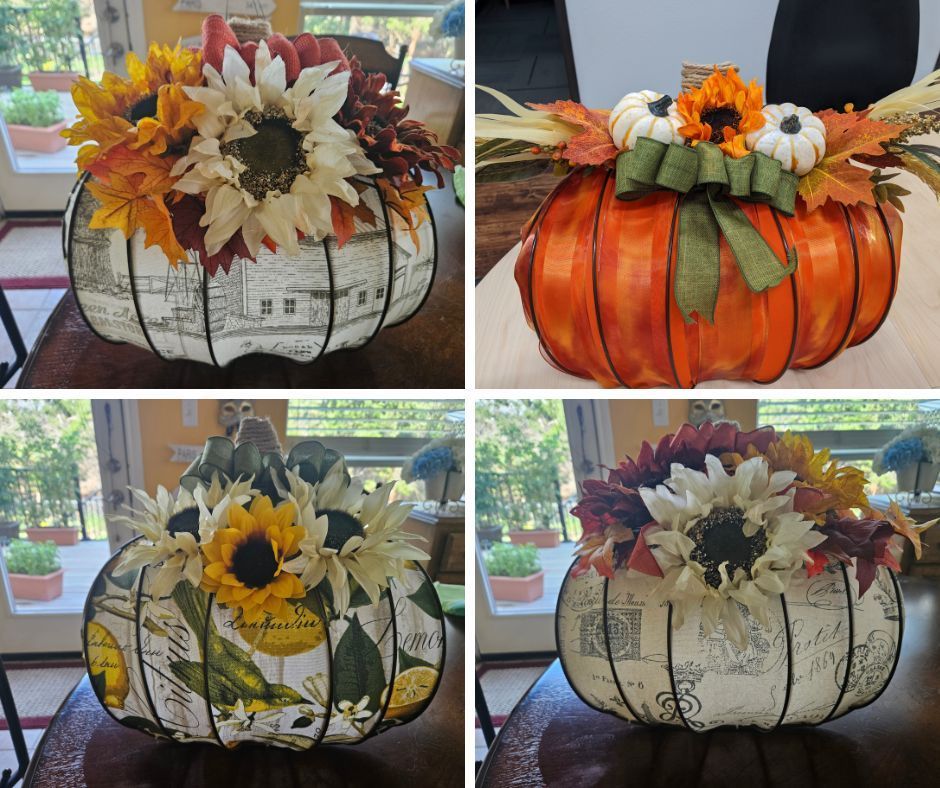
Pumpkin shaped wreaths
Crystal Kikel
Supply list:
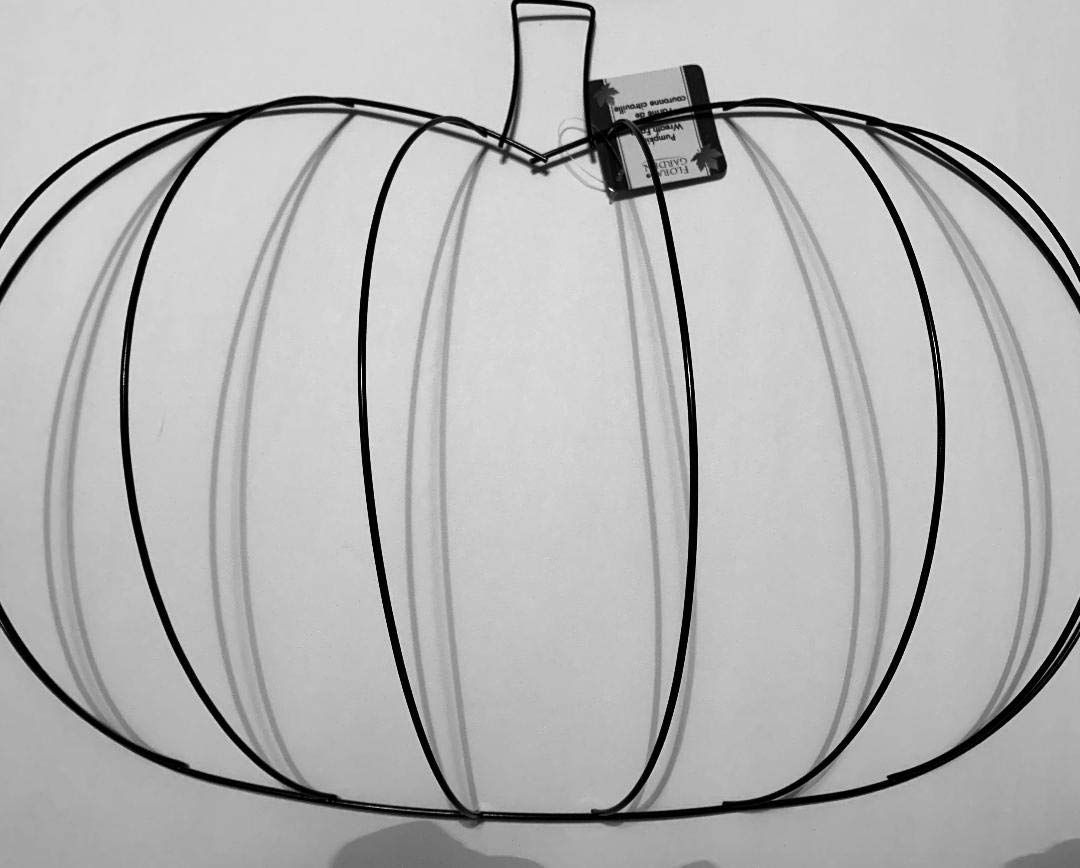
- 2 Pumpkin Wreath forms
- Zip ties
- 1 yard of Fabric
- Floral rope
- Flowers / Greenery
- Floral wire
- Ribbon for a bow
- Glue gun / glue sticks
- Scissors
- Clothes pins
Directions:
- Cut the fabric to fit over the pumpkin form.
- Lay the first pumpkin wreath flat, place the fabric over the wreath, place the second pumpkin wreath over the first. Tighten fabric, use the clothes pins to keep the fabric in place while you zip tie the 2 pumpkins together.
- Cut a very small hole into the fabric and run the zip tie through both wreaths.
- After you have the wreaths, zip tied together glue gun the fabric tight around the inside of the wreath, cut any extra fabric off.
- I like my pumpkin stem longer, so I wrapped the floral wire around the stem (you make it as high as you like).
- Wrap the floral rope around the stem base and glue gun into place. Glue gun your bow and flowers on. (Use whatever flowers or green you like.)
- To finish the wreath, attach some floral wire to the back so that you can hang the wreath up.
Not just for the fall, make them anyway you like!

In an increasingly uncertain economic landscape, recession-proofing is gaining more traction. Small businesses, especially those with fewer than five employees, are particularly vulnerable during economic downturns. The margin for error is thin, and the resources are often limited. How do you build a protective financial and operational buffer....
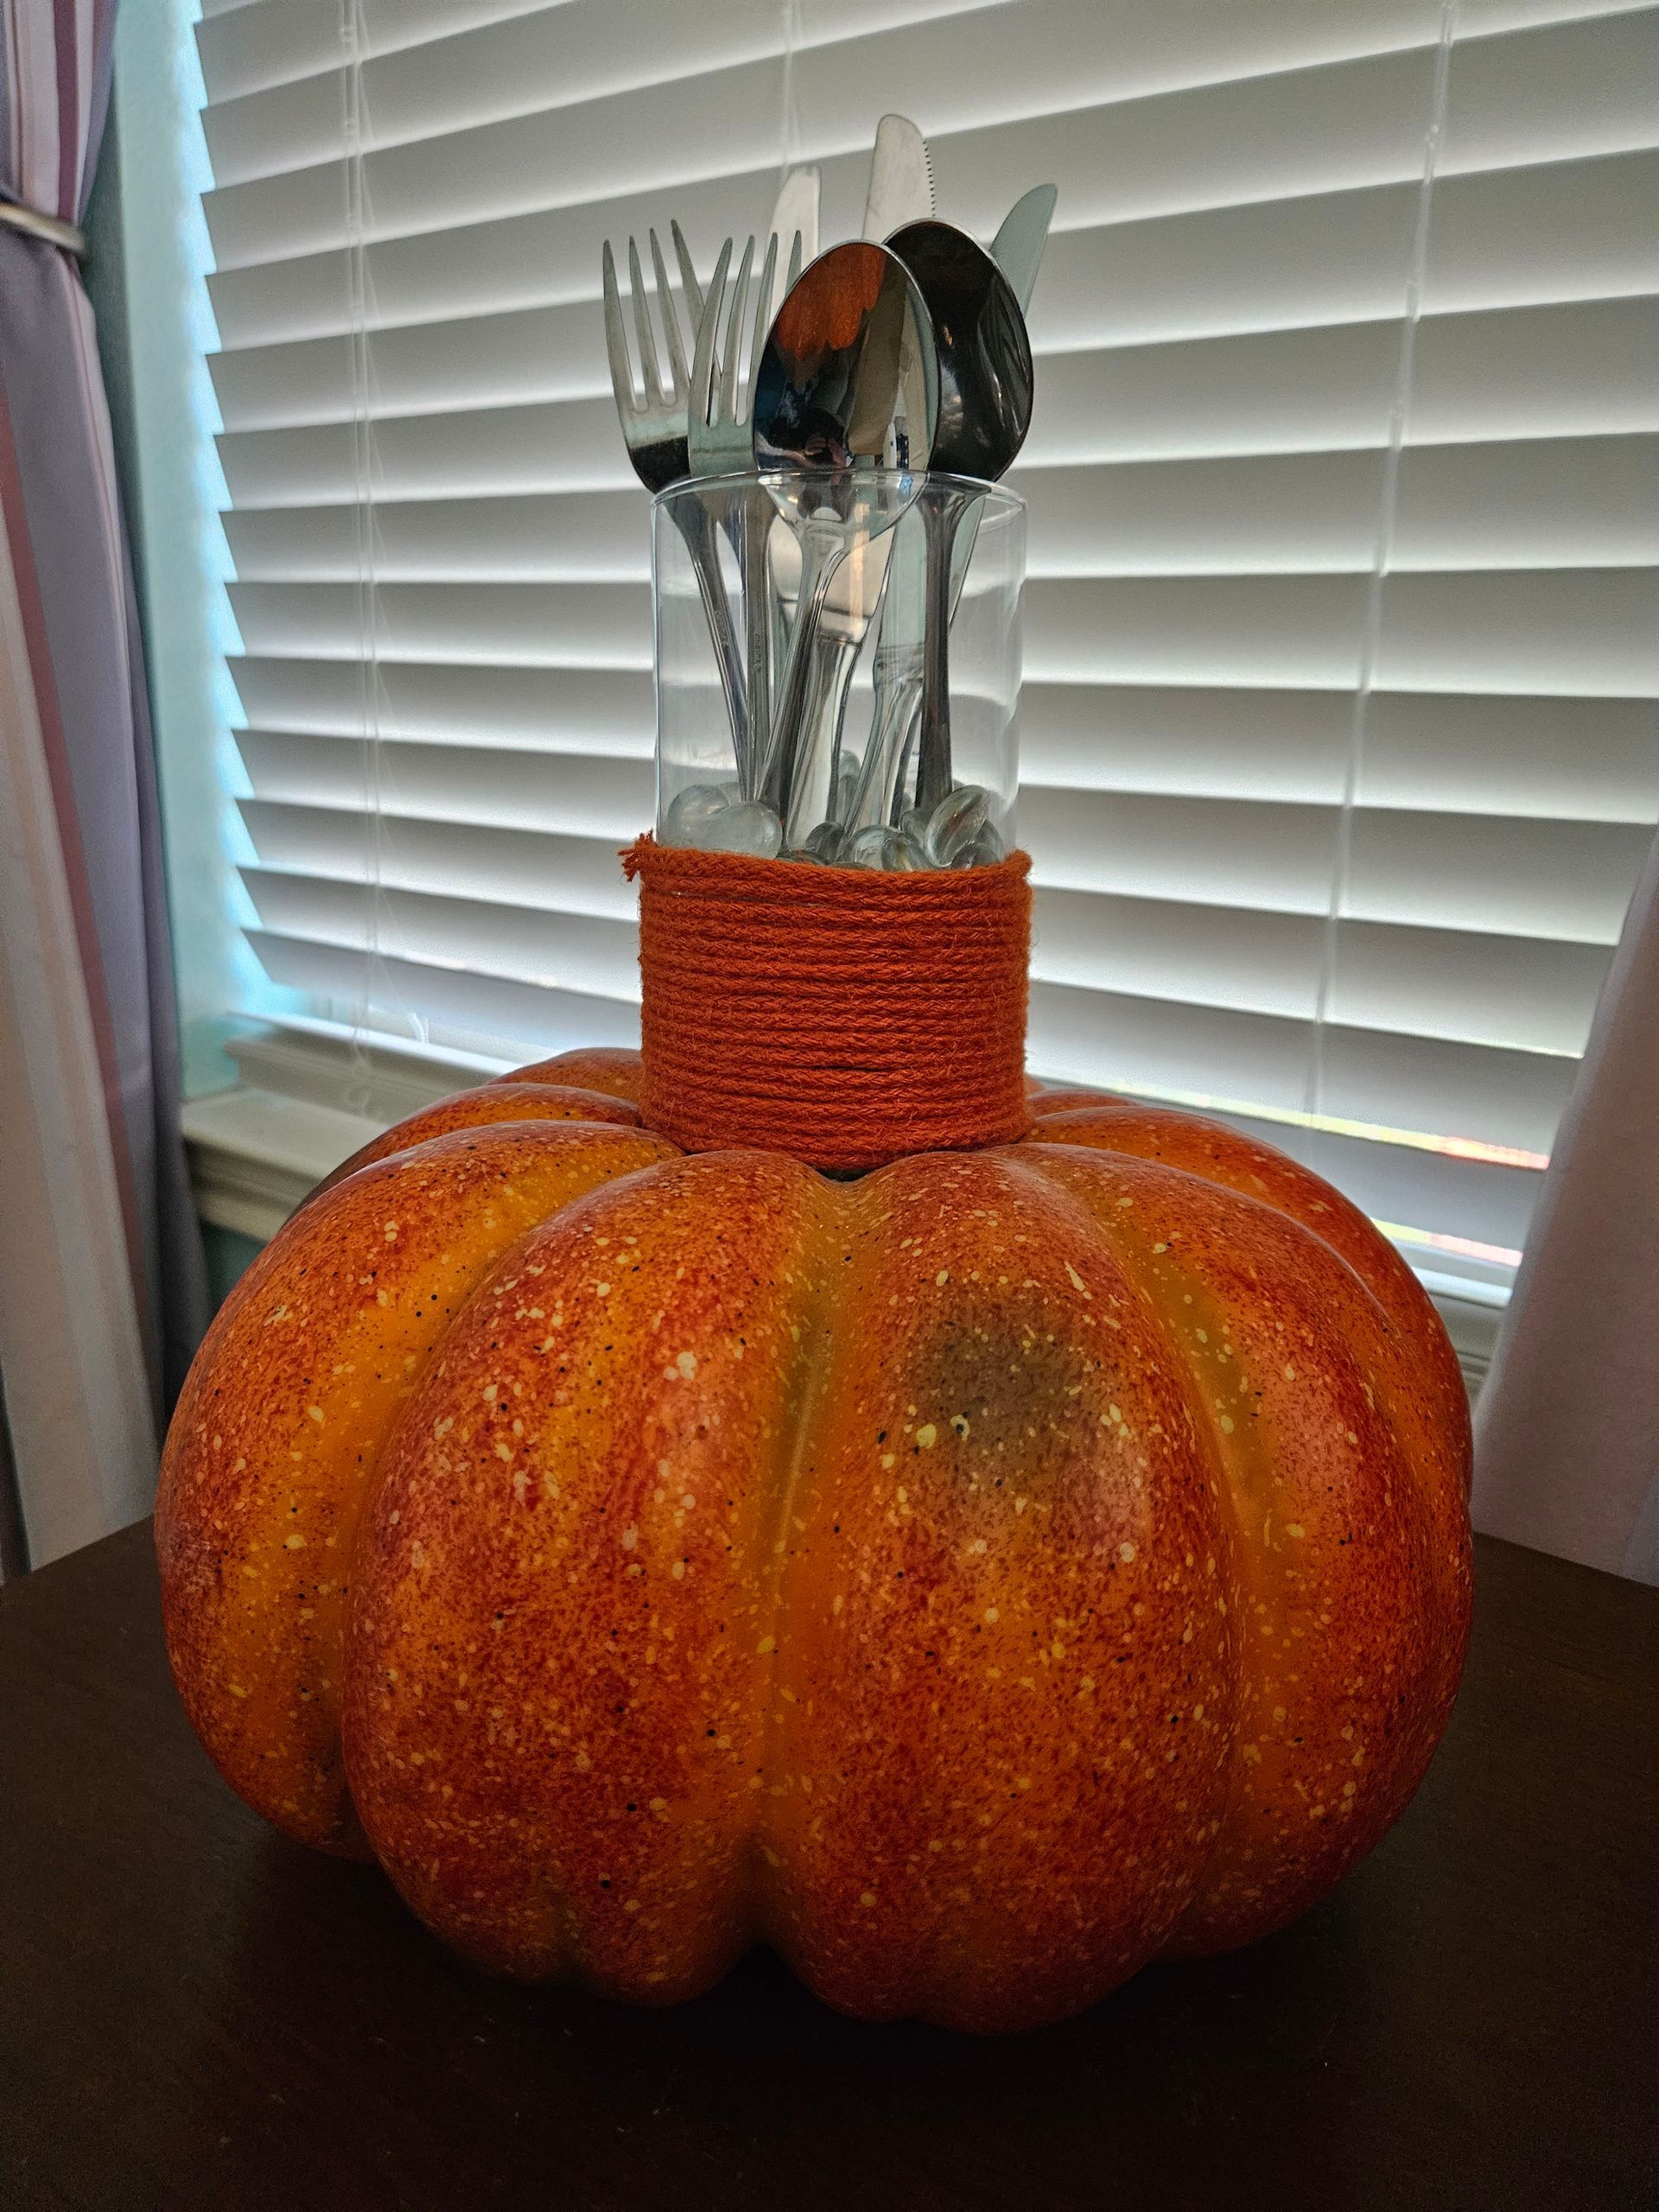
Supplies: 1 Large Foam Pumpkin Orange Rope Clear Glass Gem Filler Knife Glue Gun Instructions: Mark the top of the pumpkin using the vase. Cut into the pumpkin and remove some of the filling. Cut as deep as you think you want your vase to fit into the pumpkin. Wrap the rope around the vase about a third of the way up, glue gun into please. Fill the vase half the way up with the gem filler. Place silverware in the vase and enjoy.
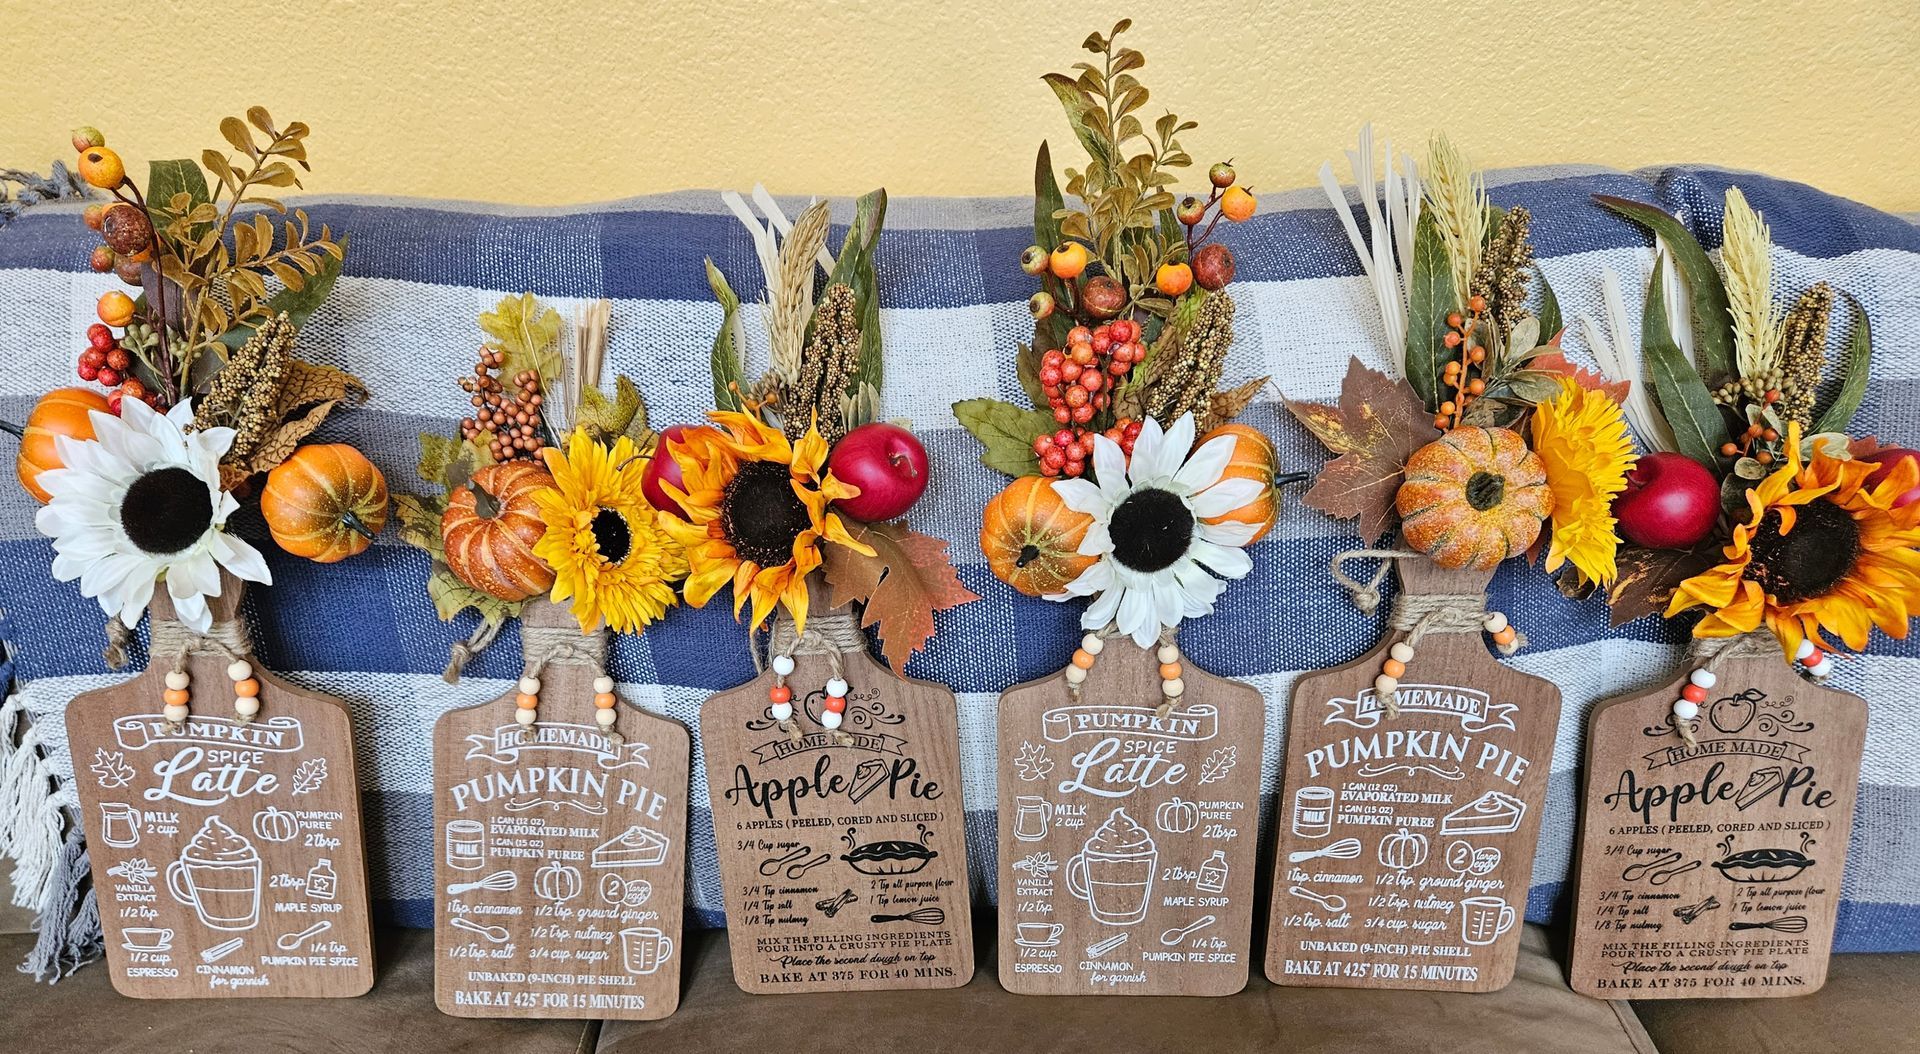
This easy and fun project and hang up all year around.